Capturing the night sky is often described as one of the most enchanting and awe-inspiring experiences a photographer can have. The sheer beauty and vastness of the cosmos can turn an ordinary photograph into a breathtaking work of art. Whether you’re diving into night sky photography to capture the intricate details of the Milky Way, create captivating star trails, or simply document a serene, star-studded night, the journey begins with understanding that the right techniques and gear can truly make or break your results.
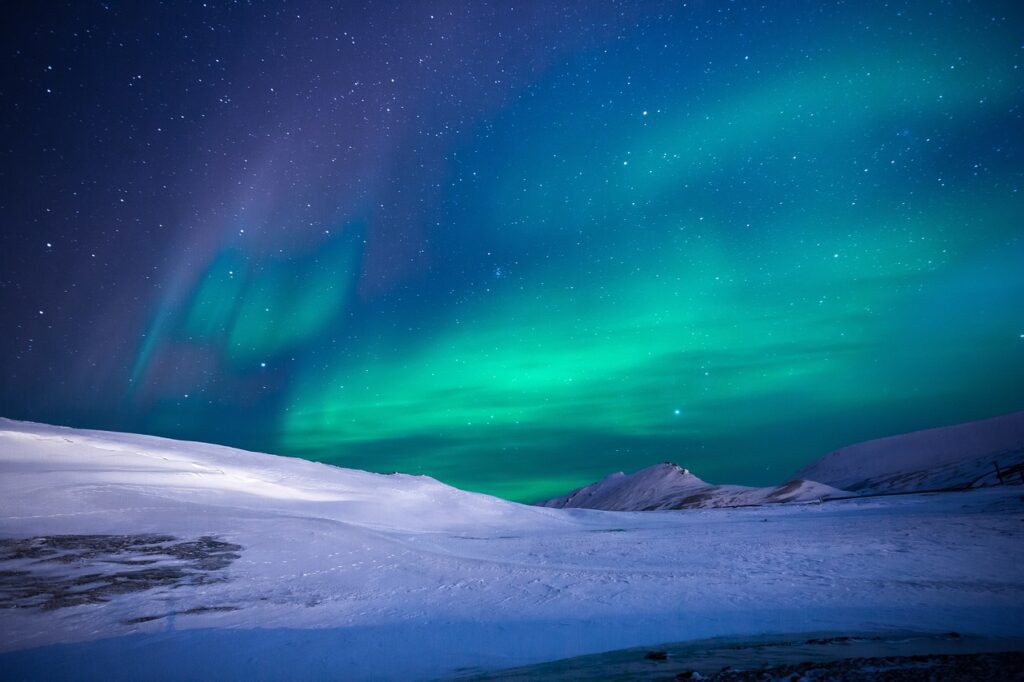
Image by Noel Bauza from Pixabay
1. Use the Right Equipment in Photography
Having the right equipment is vital for capturing stunning night sky photographs. Start with a DSLR or mirrorless camera that offers manual controls, allowing you to adjust settings like exposure time, aperture, and ISO to suit the darkness of the night. This level of control is crucial for fine-tuning your shots and achieving the best results.
A sturdy tripod is another essential piece of gear for night sky photography. Long exposure times are common when shooting at night, and any slight movement can result in blurred images. A robust tripod will keep your camera steady and ensure that your photos remain sharp and clear, even during extended exposures.
The lens you choose can also greatly impact your results. A wide-angle lens is ideal for capturing expansive views of the night sky, while a large aperture (f/2.8 or lower) allows more light to reach the camera’s sensor. This combination helps in revealing more stars and celestial details, giving your images the depth and clarity they need.
Finally, consider investing in a remote shutter release or using your camera’s timer function to minimize any potential shake when pressing the shutter button. This small but important accessory helps ensure that your long exposures are as clean and crisp as possible, contributing to the overall quality of your night sky photographs.
2. Master Long Exposure Techniques in Photography
In night sky photography, long exposure times are often necessary to capture the faint light of distant stars and other celestial objects. To achieve this, switch your camera to manual mode, which allows you to control the shutter speed directly. Typically, you’ll want to use a shutter speed ranging from 10 to 30 seconds, depending on the level of light and the effect you wish to achieve.
Experimenting with different exposure times is key to finding the right balance. If your exposure is too short, you might miss capturing the subtle details of the night sky. Conversely, a longer exposure will gather more light but may result in unwanted star trails due to the Earth’s rotation. It’s important to adjust the exposure time to suit your scene and creative vision, ensuring you capture enough light without overexposing the image.
If you aim to create star trails, longer exposures are your friend. For this effect, you can use exposures of several minutes to hours, or take multiple shorter exposures and combine them in post-processing. However, if you prefer a clearer view of individual stars, shorter exposures are typically better.
Remember to use your tripod and a remote shutter release or timer to avoid any camera shake during these extended exposure times. This will help maintain sharpness and clarity in your photos, ensuring that the long exposure captures the night sky as vividly as possible.
3. Optimize Your Camera Settings in Photography
Achieving clear and detailed night sky photos depends heavily on your camera settings. Start by setting your camera to a high ISO, typically 1600 or higher, to increase its sensitivity to light. This adjustment helps in capturing the dim light of stars and other celestial objects. However, be aware that higher ISO settings can introduce noise into your images, which may affect the overall clarity.
Next, adjust your aperture to its widest setting to allow as much light into the camera as possible. A low f-stop value, such as f/2.8, is ideal for night sky photography because it lets in more light and captures more star details. The wider aperture also helps in gathering enough light to create a well-exposed image of the night sky.
It’s important to find the right balance between ISO and aperture to get the best results. While a higher ISO setting increases sensitivity, it also raises the risk of noise. If you find your images are too noisy, consider using noise reduction techniques during post-processing to clean up the image without sacrificing too much detail.
Finally, don’t forget to experiment with your camera settings based on the specific conditions of your shoot. Different nights and locations may require slight adjustments to your ISO, aperture, and shutter speed to achieve the optimal exposure and image quality.
4. Plan Your Shoot with the Right Timing
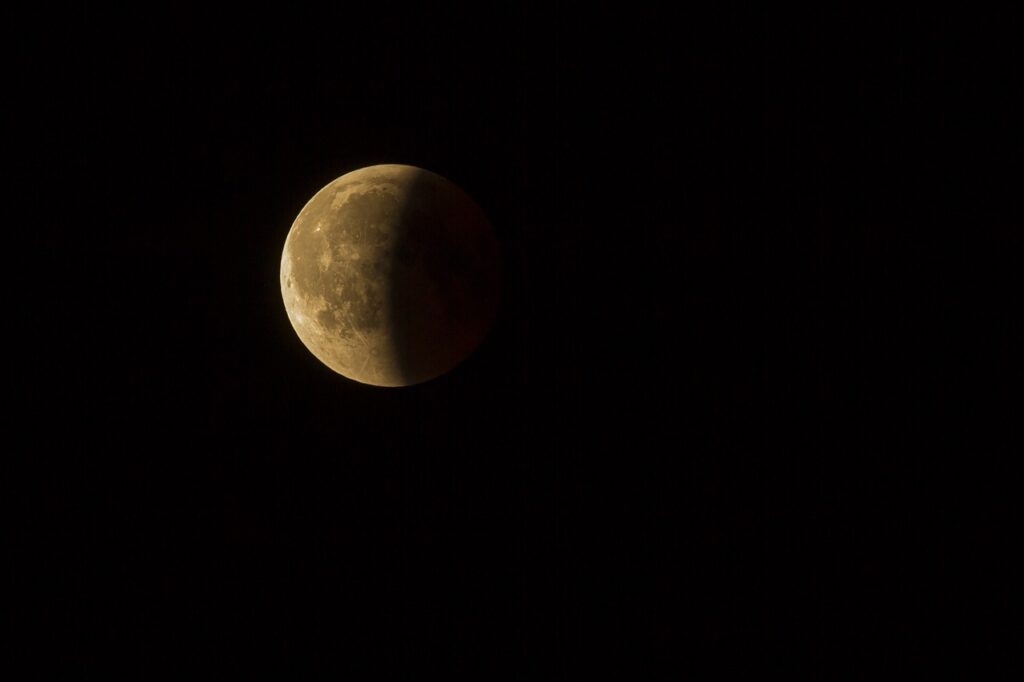
Timing plays a crucial role in night sky photography, as it can significantly impact the quality of your images. To start, consult a lunar calendar and avoid shooting during a full moon. The bright light from a full moon can wash out the stars and other celestial details, making it difficult to capture the night sky’s true beauty.
Instead, aim to plan your shoot around new moons or when the moon is below the horizon. During these times, the sky will be darker, providing better conditions for capturing stars and other celestial phenomena. Additionally, using apps or websites designed for night sky photography can help you pinpoint the best times to photograph specific events, such as the Milky Way or meteor showers.
These tools often provide valuable information on moon phases, star positions, and optimal shooting times, allowing you to make the most of your night sky photography sessions. By carefully selecting your shooting times based on these factors, you’ll be able to achieve clearer, more detailed images of the night sky.
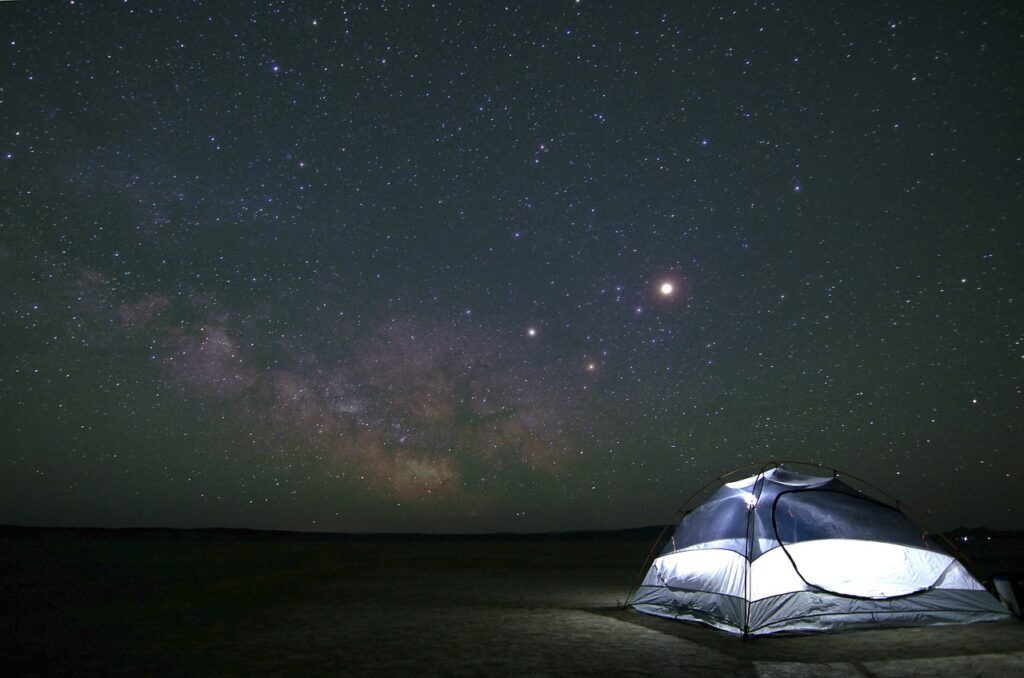
5. Thoughtful Composition in Night Sky Photography
Effective composition can transform your night sky photographs from merely good to truly exceptional. One key aspect is incorporating foreground elements into your shots. Adding features like landscapes, trees, or intriguing structures helps provide context and depth, making the overall image more engaging and dynamic. This foreground interest can also lead the viewer’s eye naturally toward the night sky.
Using compositional techniques such as the rule of thirds can enhance the visual appeal of your images. By positioning the horizon or key elements of the scene along these lines, you create a balanced and harmonious composition. For instance, placing the night sky in the upper third of the frame and the foreground in the lower third can result in a more visually pleasing image.
Additionally, pay careful attention to the placement of celestial objects like the Milky Way or prominent constellations. Positioning these elements thoughtfully within the frame can create stunning focal points and guide the viewer’s gaze through the photograph. This intentional placement helps highlight the beauty of the night sky and adds a sense of wonder to your images.
Overall, thoughtful composition not only enhances the aesthetic quality of your photos but also helps convey the grandeur and magic of the night sky, making your images stand out.
conclusion
In conclusion, night sky photography offers a unique and rewarding challenge for photographers eager to capture the celestial wonders above us. By investing in the right equipment, mastering long exposure techniques, optimizing your camera settings, planning your shoot around optimal timing, and thoughtfully composing your shots, you can elevate your night sky images from simple snapshots to breathtaking works of art. Each step, from choosing the right gear to adjusting settings and carefully framing your shot, contributes to creating stunning photographs that truly reflect the beauty and vastness of the night sky. So, grab your camera, embrace the magic of the night, and let your creativity shine as you explore the cosmos through your lens.


