Photography doesn’t always require expensive gear and elaborate studio setups. Often, all you need is a bit of creativity and some common household items to elevate your photography game to new heights. By thinking outside the box and utilizing everyday objects in inventive ways, you can achieve impressive results that rival those produced with professional equipment.
DIY photography
In this article, we’ll explore seven DIY photography hacks that will help you create stunning visuals using items you likely already have around your home. These hacks not only save you money but also encourage you to experiment and develop your skills as a photographer. So, let’s dive in and discover how you can transform simple objects into powerful photography tools.
DIY photography
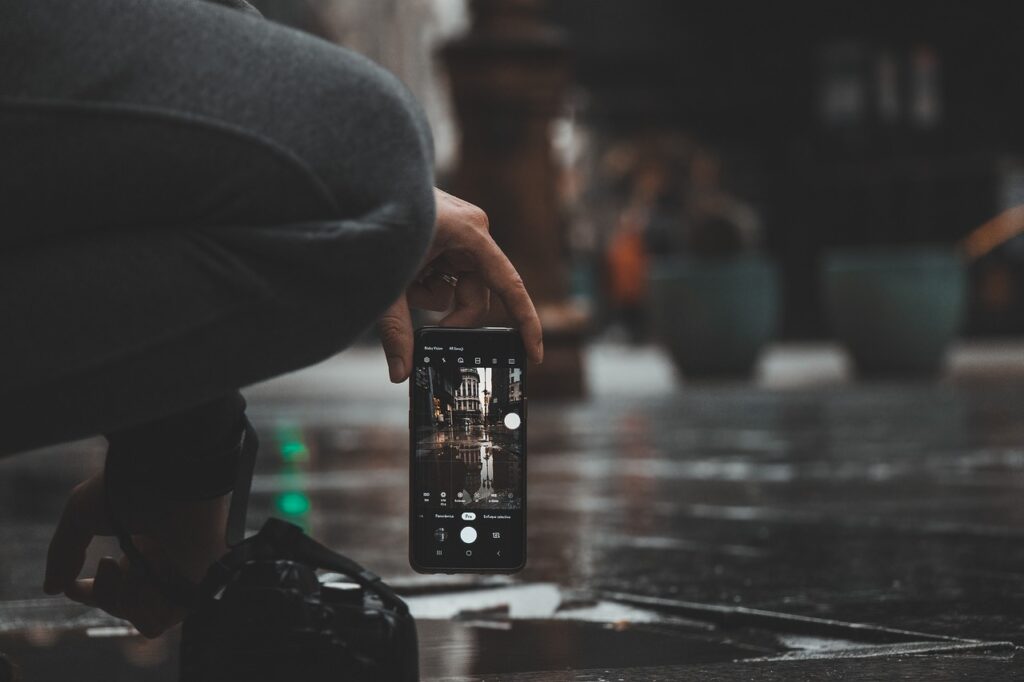
Image by Horacio Lozada from Pixabay
DIY photography
1. Plastic Bag Softbox
DIY photography
Lighting plays a crucial role in photography, affecting how your subjects appear in photos. Harsh lighting can create strong shadows and highlights that aren’t always flattering. Professional photographers often use softboxes to diffuse light and create a more even illumination. But you don’t need to invest in expensive equipment to achieve similar results.
DIY photography
Grab a clean, white plastic bag without any logos or writing on it. If you’re using a camera with a built-in flash, gently place the bag over the flash. For external lights, drape the bag over the light source and secure it in place if needed. When you take photos with the bag over your light source, you’ll notice a softer, more flattering light. This trick helps reduce harsh shadows and creates a smoother look, perfect for portraits and other types of photography where soft lighting is essential.
It’s a simple and cost-effective solution that can elevate your photography without breaking the bank.
DIY photography
DIY photography
2. CD Light Reflections in Photography
DIY photography
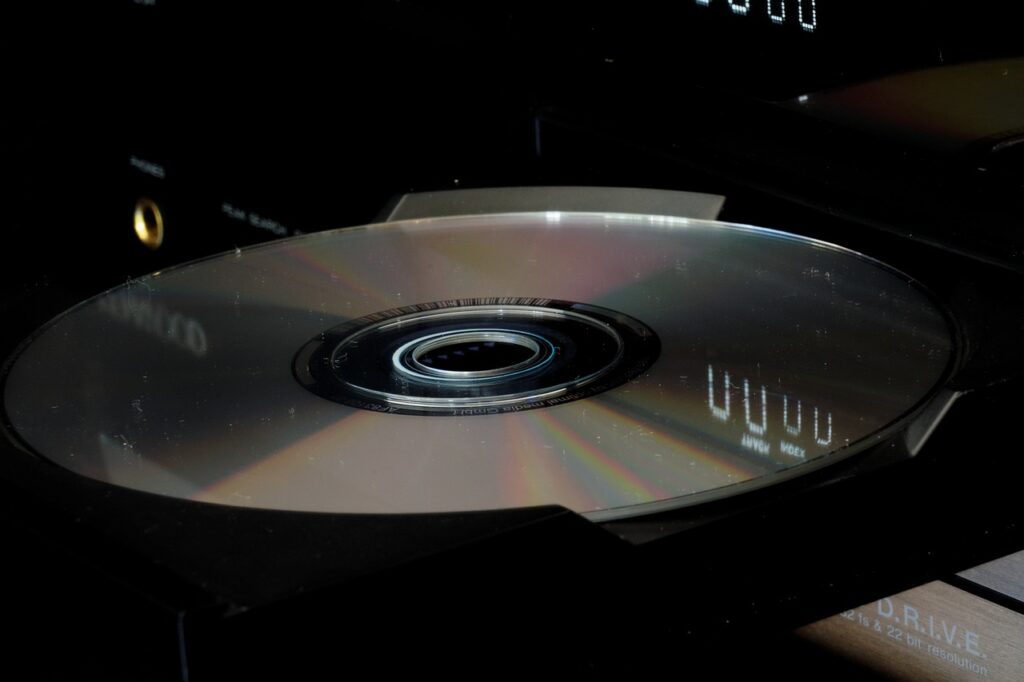
Old CDs can do more than just play music—they can also bring a touch of creativity and color to your photography. By harnessing their reflective surfaces, you can create stunning visual effects that add a unique flair to portraits or product shots.
To experiment with this technique, find an old CD and place it under a direct light source, such as a flashlight or sunlight. Adjust the angle of the CD to reflect light onto your subject. You’ll discover that the CD not only reflects light but also produces captivating patterns and even rainbows, depending on the angle and intensity of the light.
DIY photography
This DIY photography hack is a simple yet effective way to elevate your photos without needing expensive gear. It’s perfect for adding a bit of sparkle and magic to your images, making them stand out with vibrant reflections and intriguing light patterns. Next time you’re looking to add a creative twist to your photography, reach for an old CD and explore the endless possibilities it offers.
DIY photography
DIY photography
3. DIY Camera Zoom Hack
DIY photography
Expand your camera’s zoom capabilities using a simple household item: a paper towel roll. This DIY hack allows you to create a makeshift telephoto lens that can enhance your ability to capture distant subjects, making it particularly useful for nature photography.
DIY photography
To try this technique, take a paper towel roll and carefully attach it to the front of your smartphone or camera lens using tape. By extending the length of the lens with the roll, you effectively narrow the field of view, allowing you to zoom in on distant objects without losing image quality. This can help you capture intricate details of wildlife or landscapes that are far away, giving your photos a professional touch.
DIY photography
This inexpensive and innovative hack demonstrates that you don’t always need expensive equipment to achieve impressive results in photography. Experiment with different lengths and adjustments to find the best setup for your needs, and discover how this simple DIY solution can enhance your photography adventures.
DIY photography
4. Water Drop Macro Photography
DIY photography
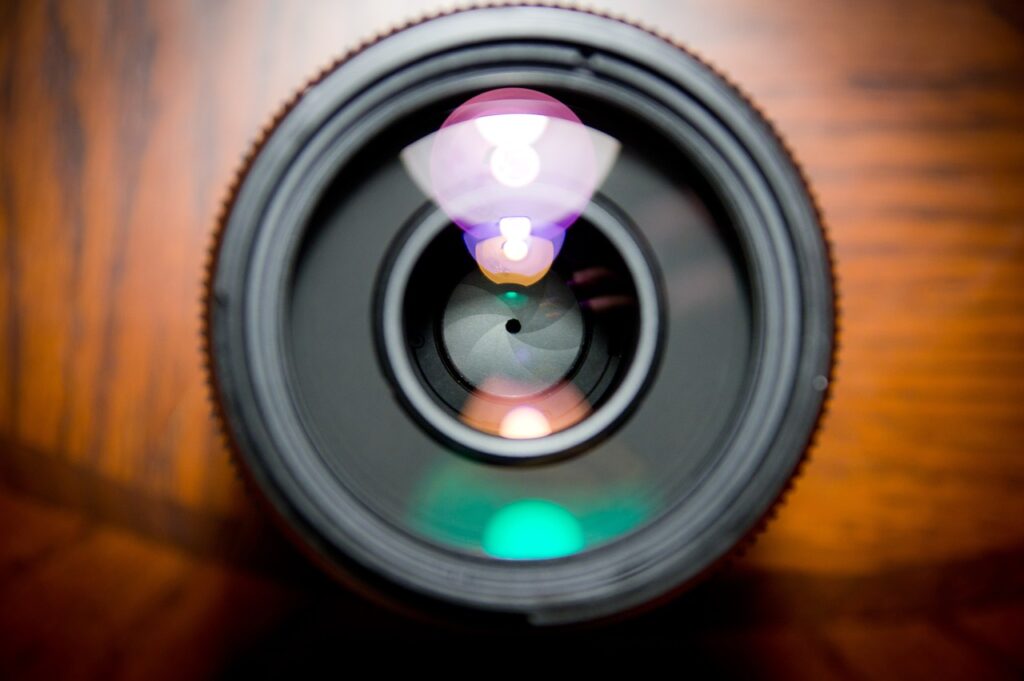
Turn your smartphone into a powerful macro camera with a simple and ingenious trick: a water drop. This DIY hack transforms your phone’s camera lens into a macro lens, enabling you to capture extraordinary close-up shots of tiny details in flowers, insects, and textures.
Here’s how it works: place a small drop of water directly onto your phone’s camera lens. The water droplet acts like a magnifying glass, enhancing the camera’s ability to focus on and capture minute details that are otherwise hard to see with the naked eye. This technique is perfect for macro photography enthusiasts who want to explore the world of small wonders without investing in specialized lenses.
Experiment with different angles and lighting conditions to achieve the best results. The water drop not only magnifies the subject but also adds a subtle, artistic touch to your photos. It’s a creative and cost-effective way to expand your smartphone photography skills and capture stunning close-up images that showcase the beauty of the miniature world around us.
DIY photography
DIY photography
5. DIY Lightbox for Photography
DIY photography
Creating a DIY lightbox for product photography is a fantastic way to achieve professional-looking results without expensive equipment. Here’s how you can do it:
Start with a cardboard box that’s large enough to accommodate your products comfortably. Cut out windows on three sides of the box, leaving a border to maintain its structure. Cover these openings with white paper or fabric to diffuse the light.
Next, place your product inside the box, ensuring there’s enough space around it for even lighting. Position your light source outside the box—this could be a lamp, flashlight, or studio lights. Direct the light through the windows to illuminate your product evenly.
Experiment with the placement and intensity of the light to minimize shadows and highlight the features of your product. This setup provides controlled lighting that enhances the appearance of your products, making them look their best for photos. It’s a cost-effective solution that can significantly improve your product photography, whether you’re showcasing items for sale online or capturing professional-looking shots for personal projects.
DIY photography
6. Tinfoil Reflector for Photography
Create an effective DIY reflector using tinfoil to enhance your photography with improved lighting and highlights. By wrapping a piece of cardboard with tinfoil, shiny side out, you can create a reflective surface that bounces natural or artificial light onto your subject. This homemade reflector is particularly useful for filling in shadows and accentuating details in portraits or other photography genres.
DIY photography
To make the tinfoil reflector, securely wrap a piece of cardboard with aluminum foil, ensuring the shiny side faces outward for maximum reflection. Position the reflector opposite your light source and adjust the angle to bounce light onto your subject effectively. Experiment with different distances and angles to achieve the desired lighting effect, helping to create a balanced and professional look in your photos.
DIY photography
This DIY approach provides a cost-effective way to enhance your photography without needing expensive equipment. Whether you’re shooting indoors or outdoors, using a tinfoil reflector allows you to control and improve lighting conditions, making your subjects stand out with clarity and depth.
DIY photography
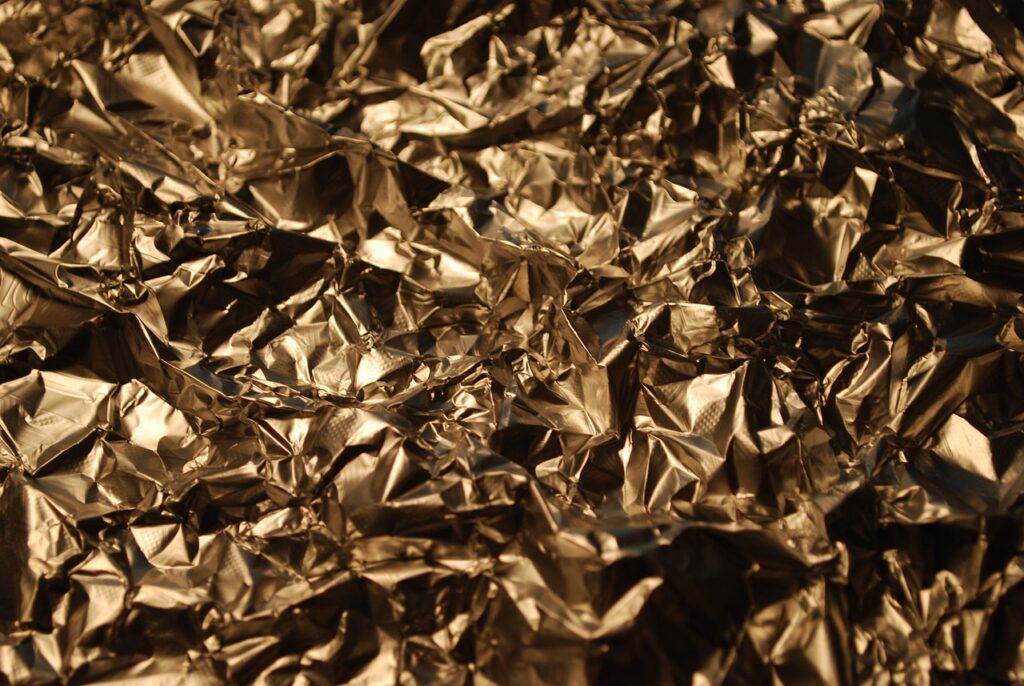
Image by nanne nauta from Pixabay
DIY photography
7. Glass Prism Refraction Photography
Transform your photography with captivating prism effects using a simple drinking glass. This DIY technique adds a creative and dreamy touch to your images by refracting light and creating mesmerizing reflections.
Here’s how you can create stunning prism effects:
Hold a drinking glass close to your camera lens and rotate it while capturing your shot. The glass will bend and refract light, producing unique and distorted reflections that enhance the artistic appeal of your photos. This technique is perfect for adding a dynamic and ethereal quality to portraits, landscapes, or any scene where you want to introduce a touch of magic.
Experiment with different angles and distances to explore the full range of effects that the glass can create. By adjusting the rotation and position of the glass, you can achieve varying levels of distortion and color play, making each shot truly unique.
Using a drinking glass as a prism is a creative and accessible way to elevate your photography without requiring specialized equipment. Whether you’re a beginner or a seasoned photographer, incorporating prism effects can add an artistic flair to your images, transforming ordinary scenes into extraordinary visual narratives.
DIY photography
conclusion
In conclusion, these DIY photography hacks highlight the creativity and ingenuity that can elevate your photography without breaking the bank. By leveraging everyday objects in innovative ways, you can achieve professional-quality results and infuse your work with a unique and personal touch.
So, embrace experimentation and explore how these simple hacks can enhance your photography. By thinking outside the box and making the most of what you have at hand, you can capture compelling images that stand out and tell your story effectively. Start today and see how these household items can help you create amazing visuals that impress and inspire!
DIY photography

