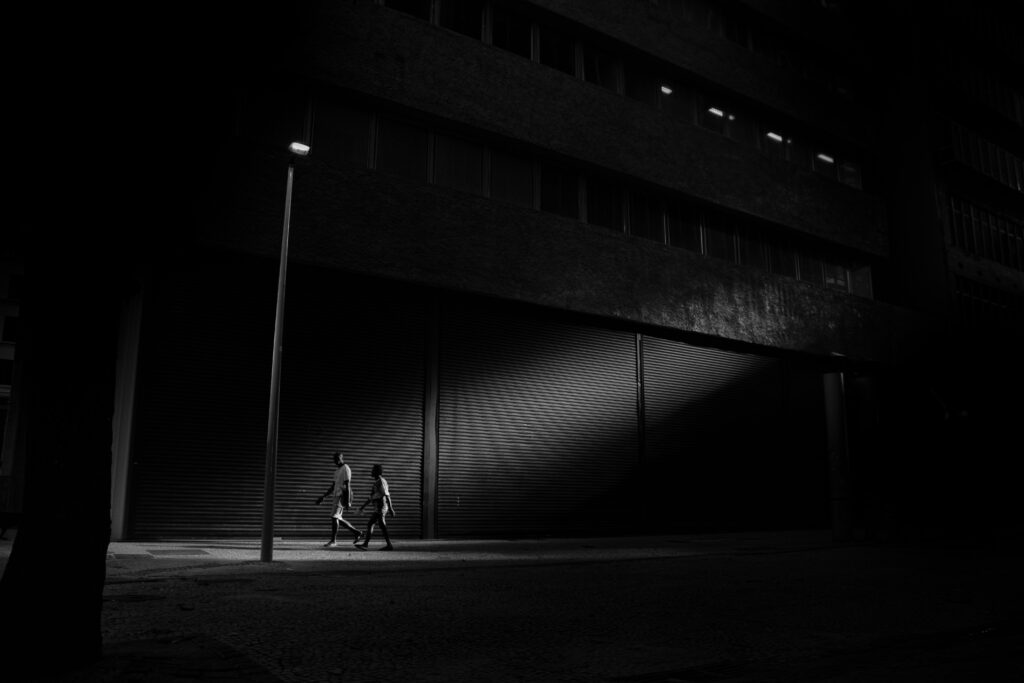
Photo by Marcos Paulo Prado on Unsplash
Introduction
Mastering Light is the essence of photography and is much needed for beginning photographers. Its manipulation and understanding separate a casual snapshot from a compelling image. Whether you’re a budding photographer or a seasoned professional, mastering light is crucial. This guide explores the different aspects of mastering lighting in photography, from natural to artificial sources, and offers practical tips to help you harness its power.
Understanding Natural Light

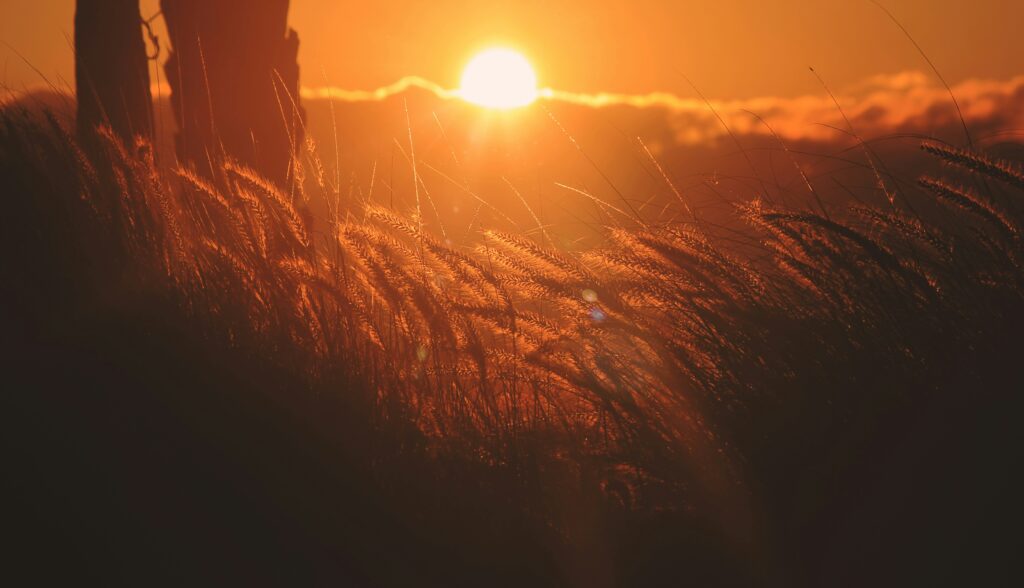
Photo by Aziz Acharki on Unsplash
Natural light is often preferred by photographers for its dynamic and organic quality. It varies greatly depending on the time of day, weather conditions, and geographic location.
The Golden Hour
The golden hour, shortly after sunrise and before sunset, provides soft, warm light that enhances colors and adds a magical glow to photographs. The low angle of the sun creates long shadows and a gentle contrast, making it ideal for portraits and landscapes.
The Blue Hour
Just before sunrise and after sunset, the blue hour offers a different kind of beauty. The sky takes on a deep blue hue, and the light is diffused and even. This period is perfect for capturing tranquil scenes and adding a sense of calm to your images.
Midday Sun
While the midday sun is often harsh, creating strong shadows and high contrast, it can be used creatively. Experimenting with backlighting, silhouettes, and reflective surfaces can yield striking results. Use diffusers or seek shade to soften the light when needed.
Harnessing Artificial Light
Artificial light provides control and consistency, essential for studio photography and indoor shoots. Understanding the types and uses of artificial light can significantly enhance your skills.
Continuous Lighting
Continuous lights, such as LED panels and tungsten bulbs, offer a constant light source. They are beneficial for beginners as they allow real-time adjustments and are great for both photography and videography.
Flash and Strobe Lights
Flashes and strobes produce brief, intense bursts of light, ideal for freezing motion and creating dramatic effects. They are more challenging to mastering light but offer unparalleled control over mastering lighting conditions.
Light Modifiers
Modifiers like softboxes, umbrellas, and reflectors shape and diffuse light, adding depth and dimension to your photographs. Softboxes produce soft, even light, perfect for portraits, while umbrellas can either soften or reflect light, providing versatility. Reflectors bounce light onto your subject, filling in shadows and adding detail.
Direction and Quality of Light
The direction and ability to mastering light significantly impact the mood and clarity of your photos. Understanding how light interacts with your subject helps you create the desired effect.
Front Lighting
Front lighting, where the light source is directly in front of the subject, minimizes shadows and highlights details. It’s useful for portraits and product photography but can sometimes make the image appear flat.
Side Lighting
Side lighting adds depth and texture by casting shadows on one side of the subject. This technique is excellent for revealing details and creating a three-dimensional effect, often used in fine art and portrait photography.
Backlighting
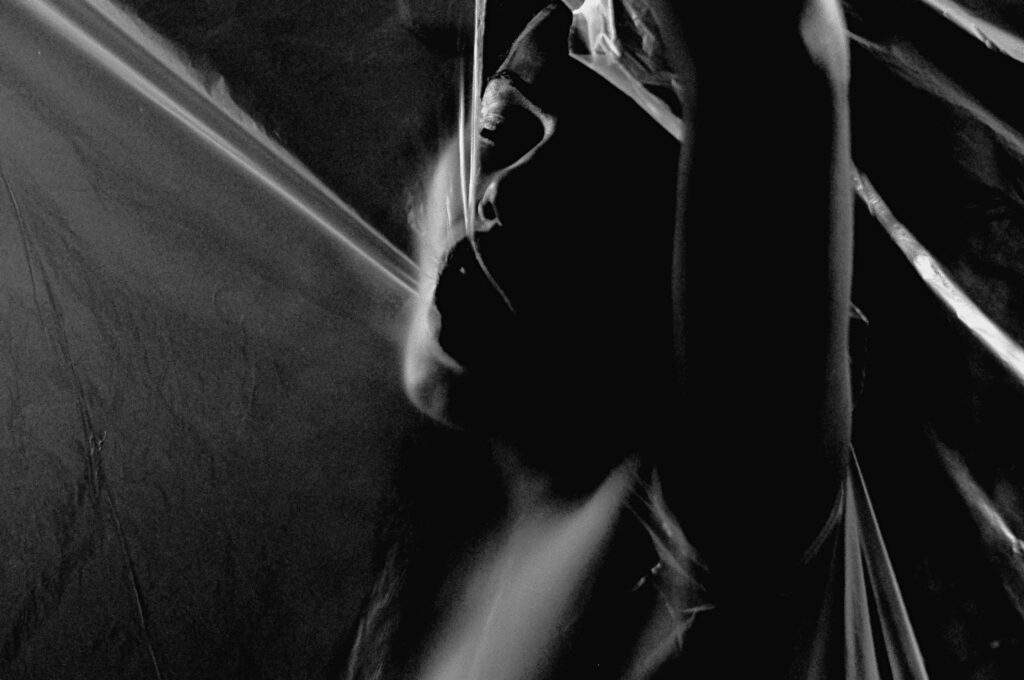
Backlighting positions the light source behind the subject, creating silhouettes and rim lighting. It can produce dramatic and ethereal images, especially when used with translucent subjects like leaves or glass.
Practical Tips for Mastering Light
- Observe and Experiment: Spend time observing how light changes throughout the day. Experiment with different lighting conditions and take notes on how they affect your photographs.
- Use Natural Reflectors: Utilize natural reflectors like walls, sand, and water to bounce light onto your subject. This technique can enhance the quality of light without additional equipment.
- Adjust White Balance: Correct white balance settings ensure accurate color representation. Use the preset modes on your camera or manually adjust to match the lighting conditions.
- Shoot in RAW: Shooting in RAW format preserves all the data captured by the camera sensor, giving you more flexibility in post-processing to adjust exposure and white balance.
- Practice with Artificial Light: Invest time in learning how to use artificial light sources. Practice with different modifiers and settings to understand how they affect your images.
- Combine Light Sources: Don’t hesitate to combine natural and artificial light for creative effects. Use a flash to fill in shadows during a sunny day or add artificial light to enhance a scene’s mood.

Photo by Emiliano Vittoriosi on Unsplash
Advanced Techniques
Mastering Light Painting
Light painting involves using a long exposure to capture moving light sources, creating unique patterns and effects. This technique requires a tripod, a slow shutter speed, and a light source like a flashlight or sparkler.
High-Speed Sync
High-speed sync allows you to use flash at shutter speeds faster than the camera’s native sync speed. This is useful for outdoor portraits where you want to use a wide aperture for shallow depth of field but need to control the exposure.
Rembrandt Lighting
Named after the famous painter, Rembrandt lighting is a classic technique where light is positioned to create a triangle of light on the subject’s cheek opposite the light source. This setup adds drama and is commonly used in portrait photography.
Tips for Product Lighting
- Use Continuous Lighting: Continuous lighting helps you see how the light interacts with the product in real-time.
- Experiment with Angles: Move your light source around to find the best angles that highlight the product’s features.
- Post-Processing: Clean up any imperfections and enhance colors in post-processing to make the product stand out.
Conclusion
Mastering light in photography is a journey of continuous learning and experimentation. By understanding the different types of light, their qualities, and how to manipulate them, you can elevate your photography to new heights. Remember, the key to great photography lies not just in the equipment but in the vision and creativity of the photographer. Keep experimenting, observing, and refining your skills, and the magic of light will transform your images.


These tips are fantastic!